Jackline
![]()
![]()
![]()
![]()
|
Jackline
|
|
Last update, January 5, 2002
Preparing the Sails for Installation For the jackline mounting process
The original date is retained and archived December 23, 2009.
The attachment method of the mainsail to the mast featured here is a jackline through sail hanks in the mast track. There are other methods but this is all we have tried and used. What is liked about this method is that the luff of the main is supported evenly from tack to head and assisted by a headboard hinge of some type. This will require some effort and time to complete for the first time. If you are a "Hammer Man," this will be a test. It may be the worst phase of the entire project.
The primary mission is to prepare the luff for both sails as we move toward rigging. The luff of the main will be notched, reinforced and a jackline installed with hanks. The hanks slide easily in the mast track and allow the sail to pivot freely as needed. The jibstay will be installed on the jib.
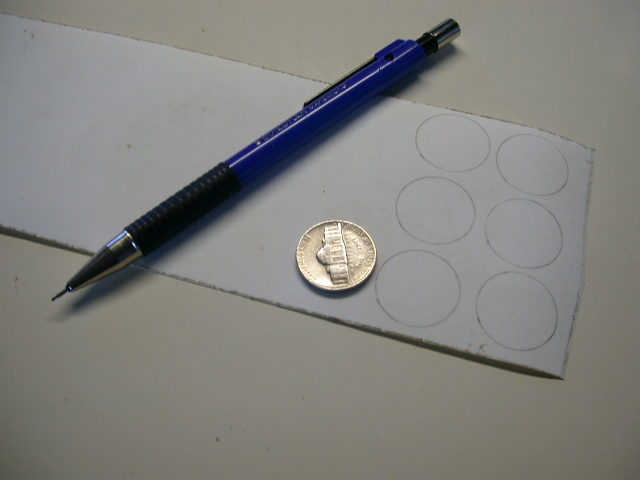
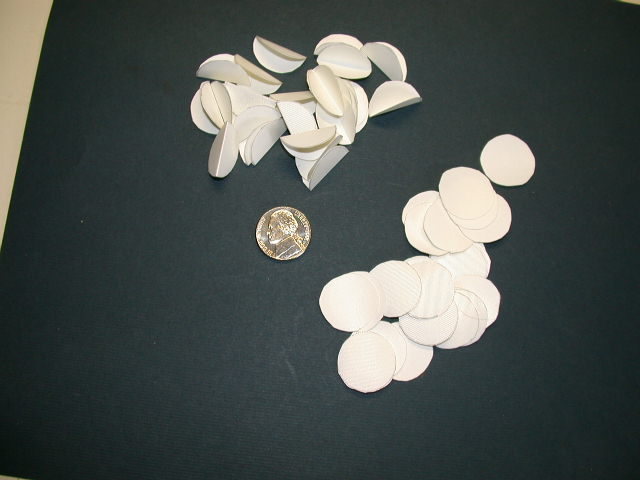
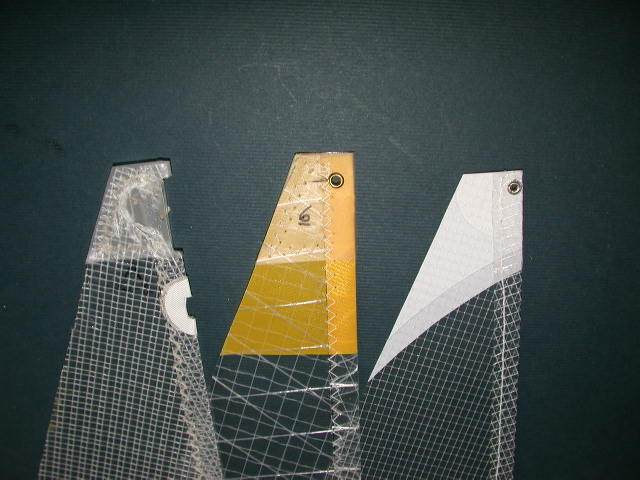
Before the luff is notched for the sail hanks, a reinforcement is folded over the luff. These are made from Dacron tape the size of a nickel. You will need 15 of them. Draw, cut and fold them in half.
Lay the mainsail out on a table and begin marking from the head. Place a very small mark 2-1/2" down from the head and then every 4-1/2" till the last mark near the tack. That last mark will be around 2" from the bottom of the luff. Check that the spacing is correct before you proceed. Peel the backing off a reinforcement and place it over a mark folding it around the leading edge of the luff. You can pick at the reinforcement with the razor knife to peel it then use it to slide under the luff. This tape is extremely sticky and difficult to remove. You do not have to be perfect on the marks and eyeball centering is good enough.
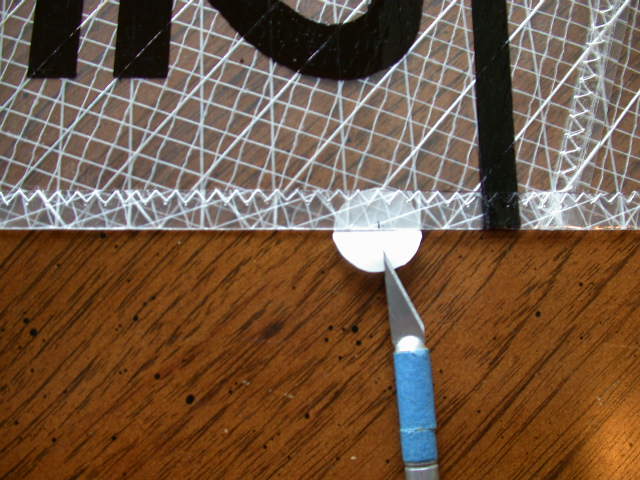
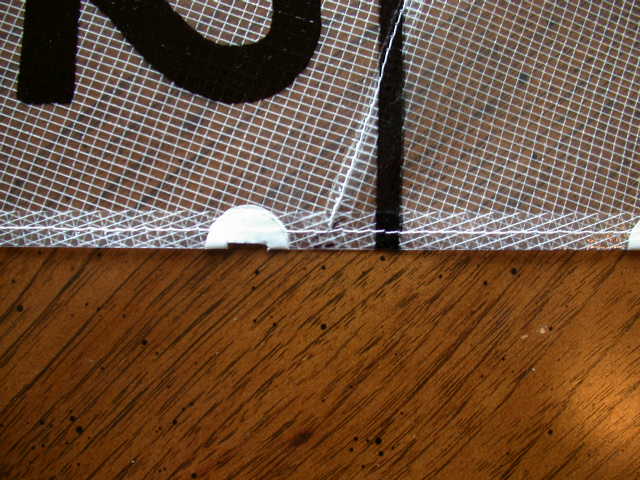
Cut a notch out of the reinforcement to fit the sail hank. About 3/8" wide and 1/8" deep should fit. When you do a couple of these you can eyeball it.
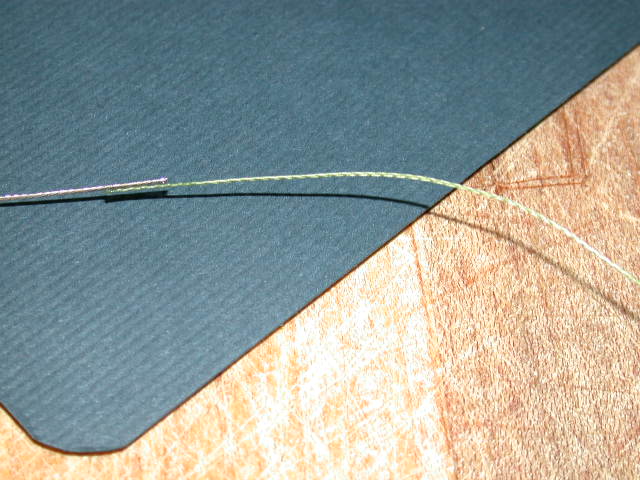
Install the Mainsail Jackline There is an old saying in Alaska, "Sometime you get the bear and sometimes the bear gets you." It may be that you are about to meet the bear. "CA a 7-1/2' line of Spiderwire or Spectra to a 10" piece of rigging wire." Easily said!
Both pieces are propped up so they will remain attached as the CA flows on. About a 1/4" overlap is fine. Let it sit for 15 minutes to make sure it is cured for handling.
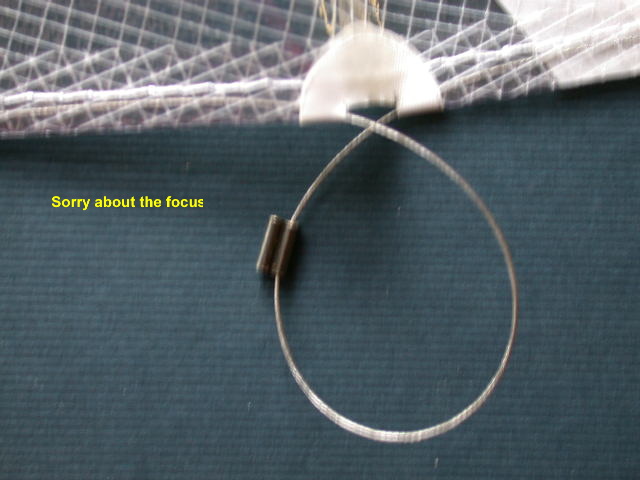
The wire is going to be the thread device around the grommets and down the luff seam to each of the reinforced cutouts. It will drag the jackline string with it. Move the wire through the headboard into the seam of the luff to the first reinforced cutout. Pass out through the cutout and slip on a sail hank, then pass the wire back into the luff to the next cutout. Let the wire flip around as you are reducing the loop and the hank will snap into place. Continue this process till you are out the bottom at the tack. Leave about 6" of line out the top and bottom. Cut the line off the wire and tape the line to the sail at both ends. Done with that.
Note: If you have more than one sail to do during this time, don't cut the line just for one sail; run it off the spool. This way you can thread more than one sail and not have to glue the blasted wire thing together again. It will take some organizing but well worth it.
|