Removable Jib
![]()
![]()
|
Removable Jib
|
|
Last update, February 10, 2003
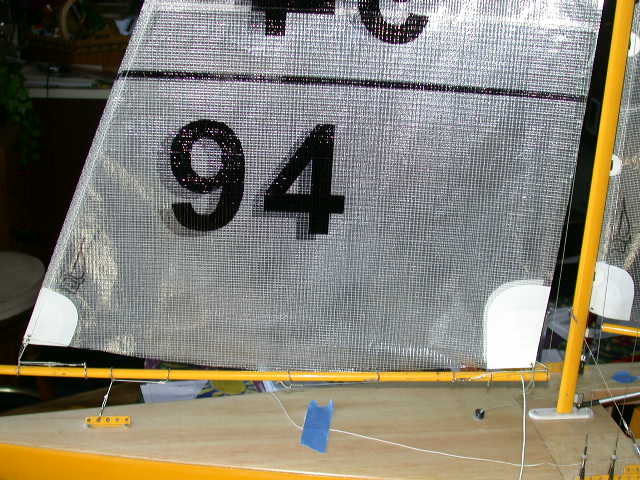
The removable jib is a means of separating the jib from the mainsail of the same suit. This allows the jib and the main to be of different sail cloth weight and shape. Additionally, this flexibility reduces the number of rigs needed in an inventory. Here are some examples for a single A rig:
One could start thinking of rig set rather than sail suits. Each rig would then have a wider range of operational wind conditions. However, the concept of using and understanding a heavier mainsail in the mix for air conditions from drifting to 10 MPH must be understood and practiced. While this may seem to be advanced tuning, it is really understanding the relationship between the jib and the main and where the steering and driving forces are.
This section is about the process of rigging for a removable jib and not the theory of dissimilar sail use. But the concept and use of mixing TS25 and TS40 sails has been around for some time and is less extreme than those mentioned above. While DMYC is not the authority on these matters, it can be said that some time on the water is enlightening and not nearly as restrictive as it may seem. With that carrot we will proceed.
The Process
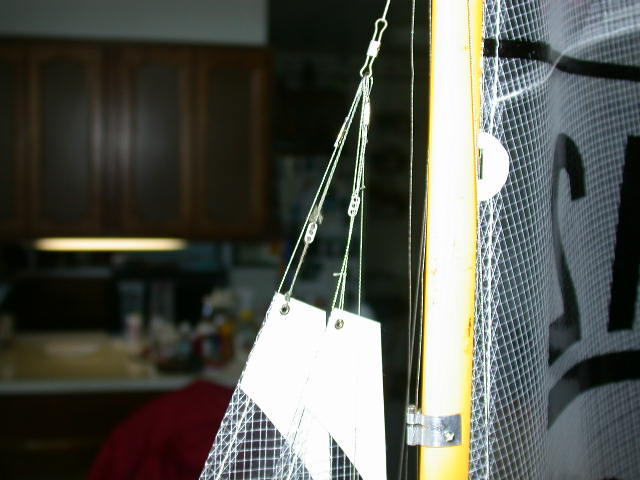
A rig to be used is stood on the boat with all connections and tensions set and tuned for racing. Another jib to be used is prepared with a forestay wire and loop terminal at the head. An uphaul is prepared with a bowsie and attached to the grommet at the head. The head and the tack are then taped to the rigged jib in place. The uphaul is then installed through the standoff CL connector firm enough to match the other jib.
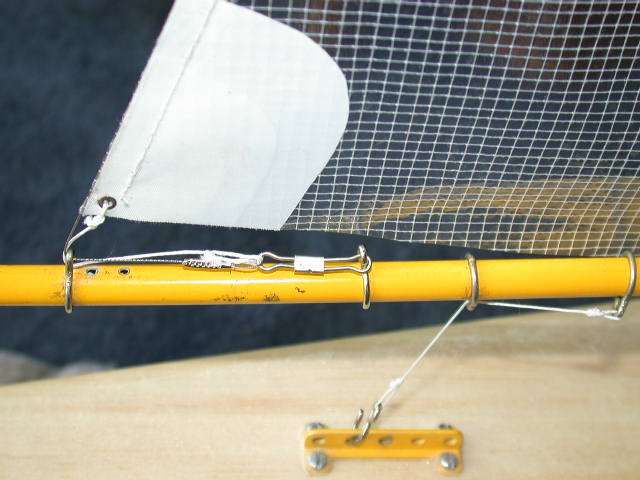
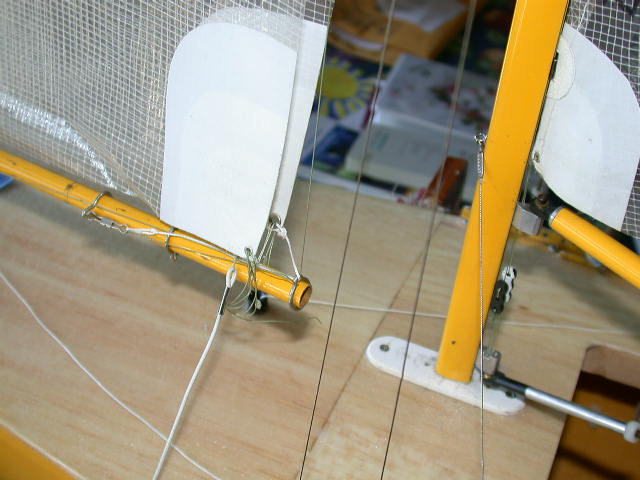
A piece of line is prepared with a loop and connected to a CL connector, which is attached to an anchor on the boom. This anchor is not adjustable. The other end of the tack securing line passes through the original forestay mount on the boom and secured firmly to the tack grommet. In this process, differences of 1/8" may occur in the vertical alignment of the two jibs. This is not a problem.
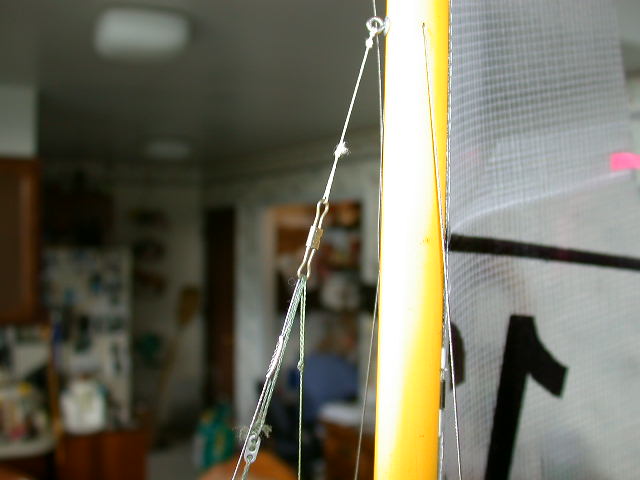
The forestay wire is passed through the original mount and fastened to the CL connector by a swage fashioned loop. This is to be firm against the backstay tension. Remove the tape.
The loose line loops hanging from the clew grommet are the standoff loops for the jib that loop over the end of the boom to hold the clew within 5/8". They did not need to be attached for this installation and the full process will be noted below during removal.
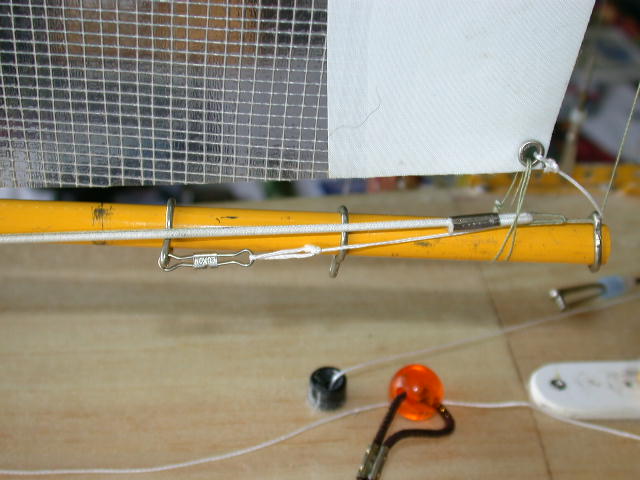
The clew adjustment line (camber) is prepared with a loop for the CL connector that is now attached to the adjuster. This is then passed through the boom end guide and secured to the clew grommet with slack to match the rigged jib. This completes the process. The jib is removed if another is to be installed and fitted.
Removal In most cases, when the backstay is relaxed the mast will tilt aft. When the jib is disconnected at the upper forestay connector the mast will fall down...not good. Determine what preventative measure to be used. The lower shroud connectors are moved forward here to hold the mast in place.
Unhook the jib and topping lift connections from the upper forestay connector. Unhook the clew adjustment line, slide the clew standoff loops off the boom and pull the topping lift line free of the loops. Set the topping lift line to the side. Unhook the lower forestay and downhaul at the tack. Store the jib away.
Install Hook the upper forestay loop and uphaul to the connector. Thread and connect the lower forestay and downhaul. Pass the topping lift line through the clew standoff loops so they will slide onto the boom with the topping lift in proper position. Thread and connect the clew adjustment line through the end guide to the adjuster.
Move the lower shroud connectors to the desired position and re-tighten the backstay. Tension the uphaul to preference. The camber and topping lift settings will now be the same as the jib removed. Adjust as needed. You're done.
|