Sizing The Hull
![]()
![]()
![]()
![]()
![]()
![]()
![]()
|
Sizing The Hull
|
|
Last update, December 21, 2007
Setting The Beam Width
Parts: None
Supplies: Stock to use for sticks Dental Floss Blue tape
Tools: Measuring tape Calipers, if you have them Beam width chart, yours
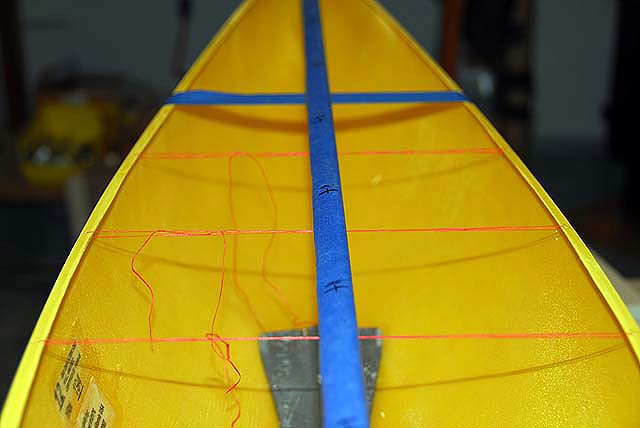
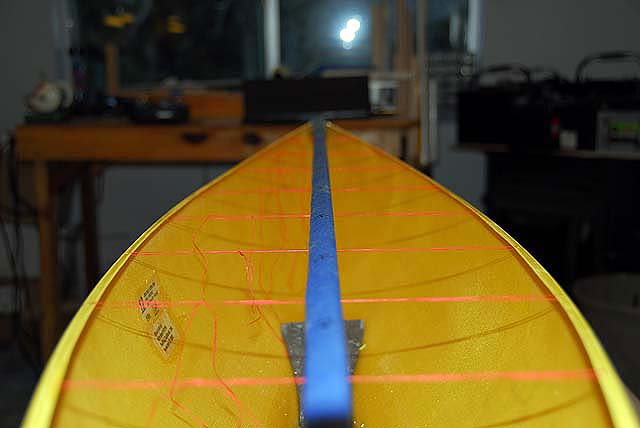
Sizing the Hull Important note: If you measure a beam width and it is where you want it without moving the hull in or out, understand that any adjustment to the hull width by pulling it in or pushing it out may change others you have already been done. If you think of it, setting a specific beam width changes references. Start with the widest point and at the end check all the points till they all match in one measuring session. This is detail work, tedious at time but it will make you the best you can be in building.
Now, having said all this, the hull here fought me all the way. She was wide everywhere. She had been hanging on the wall for a year and was thoroughly degassed and cured. However, in the end it was the best situation, as all points needed to be drawn in and all floss lines stayed taught during the process.
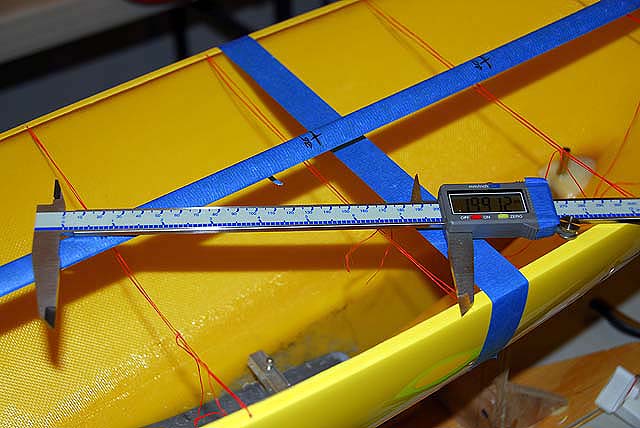
Floss is a flat string and if you do not have a numbered drill set use a 1/16 inch bit to drill the flange for the tie loop. Here blue tape is used to pre-size the beam and take the pressure off the tying.
Station 35 was first and moved forward. Don't spare the floss. It is much easier to adjust using long tags to tie the square knot and then draw down to the correct measurement. Yes, the knot in the floss will slip and that is good. When you have it right finish the knot with a single overhand knot and it will lock. As you move down the line check the one behind you to still be taught. It should be but check.
If you have to push tape the stick up under the flange. When you are finished add a little more tape so there no chance it will come loose where you cannot see it. The photo at the top of the page shows last years build that had a combination of push and pull.
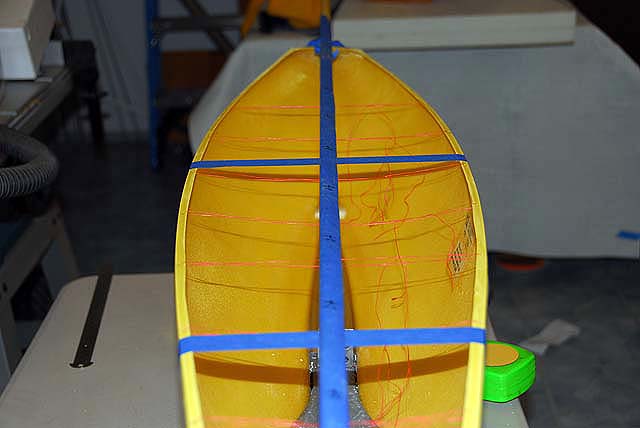
When you are done re-check it one more time. If you are running the outer limit, as was done here, you cannot afford a mistake. Somewhere your hull will be checked and if it is wide, you are done.
Okay, this finishes the phase and we are going to put this aside for a while. Place a few pieces of blue tape across the beam to relieve the pressure on the floss and/or hold the sticks in. Remove the mast. Clean out the hull and line it with paper towels.
We are now going to prepare the deck for installation. |