Molded Deck
![]()
![]()
![]()
![]()
![]()
|
Molded Deck
|
|
|
Last update, January 16, 2008The Molded Deck
Modern Build for this page only and links to the left
Parts: Hull Mast
Supplies: Blue tape
Tools: Measuring tape Drafting triangle or Speed Square Pencil or pen
The installed deck here is from RMD January 2007
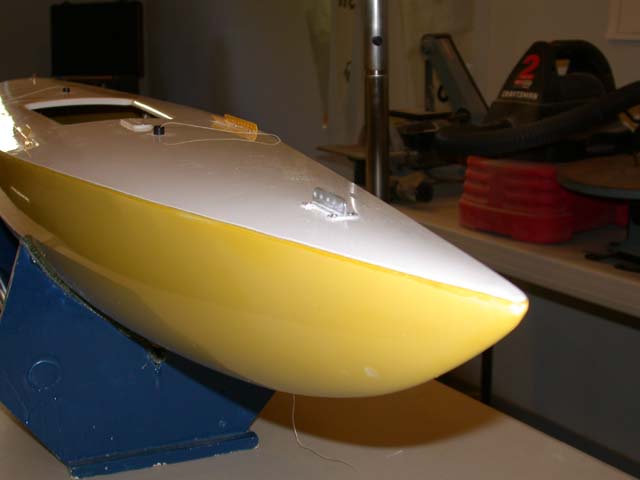
The Product The deck has a gel coat finish surface with a undercoat structure of a high tech foam covered with sealing fiberglass cloth and resin. The deck is designed to stand alone with a single compression strut for mast support. The deck as delivered weighs in at about 14 ounces and is about 1.5 inches over size for the hull specifications. This oversize is provided for assisting the installation and for trimming after attachment and curing. It is estimated the total deck weight is about 12 ounces after the trimming. Trimming of the deck is done after it has been permanently installed and so the exact weight is not known here.
Alignment nodes are placed on the trimming section of the excess flange to align the deck on the prepared hull. These nodes will assist in the quest for a centerline form where measurements will be made.
The deck has rigidity with little depression when pressured but is not designed to lift the boat by the molded hatch area.
This page and the sub-sections will take you through a complete decking process for the molded deck. Please do not begin this process until the EC directs you. Settle in, the total process is long and rewarding.
Your Money It is still pretty soon in the availability for molded decks that many building today have not installed one. It is different and there are cautions. Many of you can think these things out but it is nice to read what there is on the subject and add your input to the building as you go along. This would be a nice read before starting. If the manufacturer provides information with the deck, it is a must read.
Prerequisites: Rudder and ballast installed and all interior hull work completed including the System Board. Please remove the link rod to the rudder tiller and tape it to the side of the hull. Please remove the System Board. If you have a construction cradle, us it. If you do not put something in the keel supports to get those uprights away from the side of the hull. Even Vern will tell you more than one deck job was ruined by side pressures on the hull. do not trim the deck till the glue has set hard.
Here all was removed from the hull and this included the rudder. Because all this is so easily moved there is not need to have it in or on the boat till the deck is on and cured.
Oh, the System Board will go through the hatch when you are done. Trust me.
Throughout the building process there will be times for measuring. As you move about the tasks to the day the deck cover goes on, the knowledge of where things will be can give you a vision of the completed boat at various stages. Measurements give order to the project then if you care to fudge a bit here and there, you know from where to fudge. It is convenient to have these marks so you do not have to repeat measurements. Step 1 of the EC had you sand the hull flange. If you did not, do it now. Clean up the interior of the hull. Line the hull with paper towels.
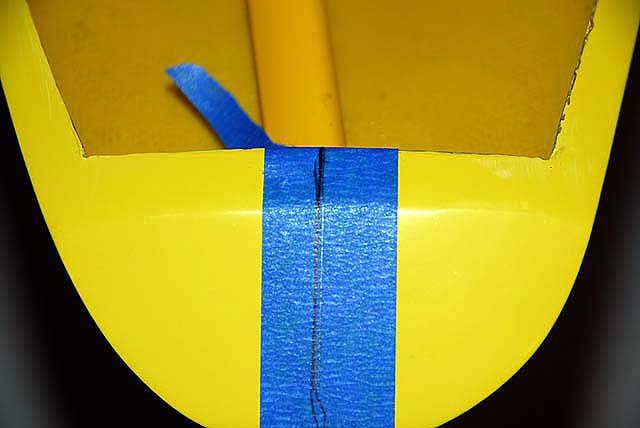
All measurements are from the bow of the hull along the centerline. Measured marks are called stations. These stations along the centerline are transferred to the beam edge of the hull on the molded flange. This gives a parallel and perpendicular symmetry to the project.
Class specifications dictate beam widths to the hull at stations every 5 inches from the bow to the transom. These specifications are generous with a ¼ inch plus or minus leeway. It is easy to move one of these flexible hulls during construction so always be conscious of this. A construction cradle that places no pressure on the sides of the hull is recommended. Most choose to be dead center with these specifications, not as a matter of perfection, but to rely on all other measurements for positions that will produce consistent waterlines at maximum ballast with each boat built. It is like a child’s blankie at night. However, if you have reason and preference to a more narrow or wider hull at the sheer, understand what you know and set it up within the specifications.
Decking business with a molded deck is very easy and the work is in front of you and where you can reach it. the key to doing a good job is always thinking and making sure the path is correct. Measuring and thinking is the hard part.
Like most phases we will do this one in stages so you can set the pace. Here we go...
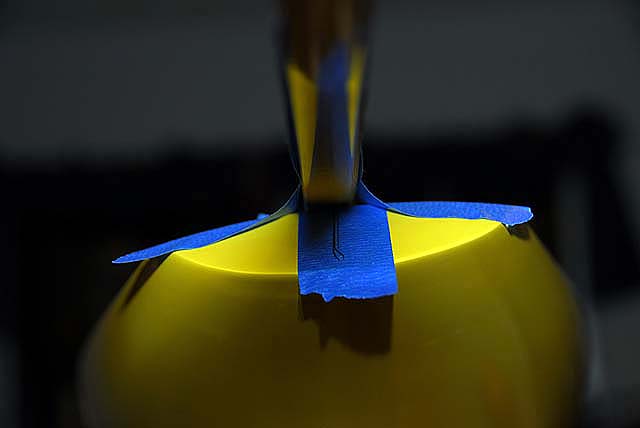
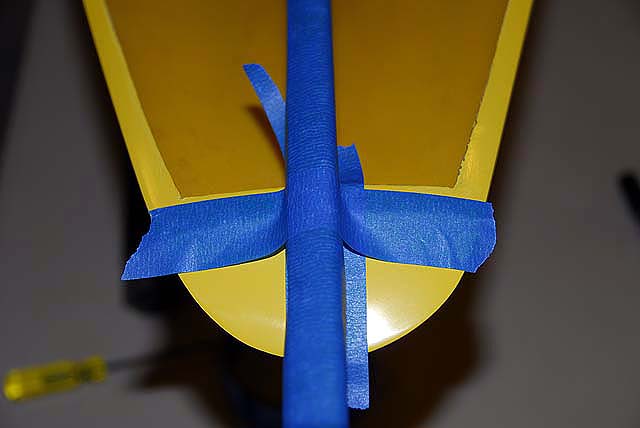
Hull Marking Lay a five-foot piece of tape on the side of a Goldspar mast. This is to provide a marking surface. Measure from one end and make a mark at the following places: In inches, 10, 15, 20, 25, 30, 35, 40 and 45. Center the mast on the bow and transom and tape it down. Make sure the edge of the mast is flush with the bow. Make sure the mast is dead center on the transom. Measure it too. Lay a right triangle against the mast and mark the hull flange on both sides of these station numbers. Try not to move the mast in this process. Scribe the station numbers at the flange mark. These will be the beam specification checkpoints.
Delta shop process: make a simple Excel chart with the beam widths YOU will use at each station marked. As part of this chart add a column with the 1/2 value of the beam widths. Here we check the that the measurement is the same on both sides of the mast and from the center of the mast. It is an added verification that you are truly square and the hull is straight.
Check everything till you know for sure the marking is correct. You can check the marks on the hull flange to be perpendicular to the centerline by measuring from the bow and have the same dimension on both sides.
Okay, with reading and some work this is enough for today.
|