Deck Finishing
![]()
![]()
![]()
![]()
![]()
![]()
![]()
![]()
|
Deck Finishing
|
|
Last update, December 21, 2001 Deck Finishing
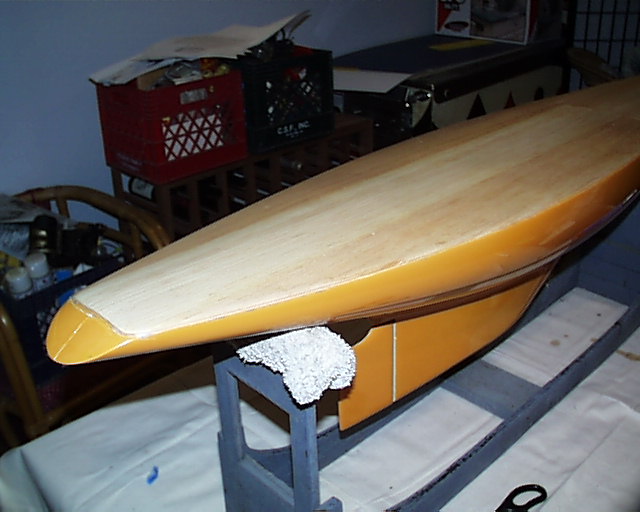
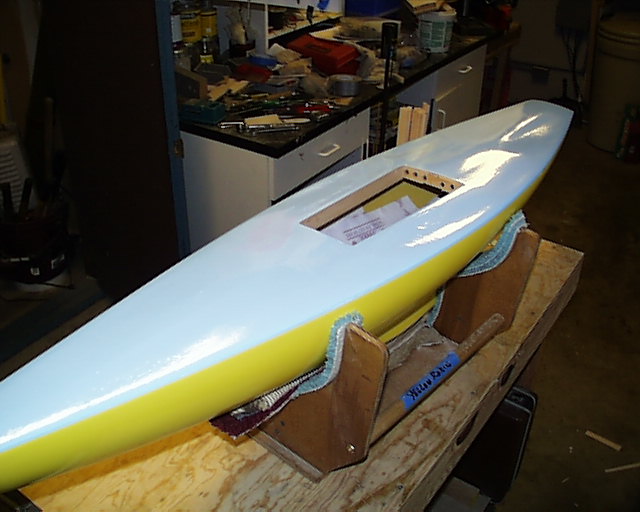
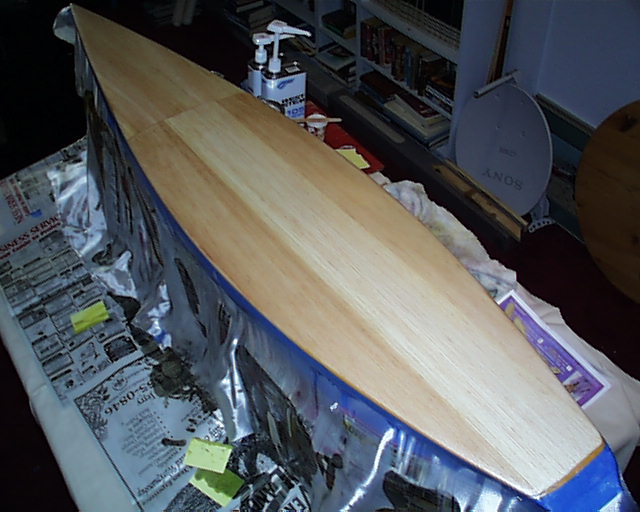
.75 ounce fiberglass cloth, CST West Systems resin and hardener, West Marine Tools: Cups, gloves, blue tape and stirring sticks 67# paper or file folders to make squeegees MEK or Acetone Scissors Razor knife The Future and Now There is a lot of thought going on about variations to the Epoxy resin deck. Presently, the majority are clear over the balsa leaving a rich wood flavor with some grain patterns. Coloring has been placed in the resin as is in many other fiberglass covering fabrications. This leaves an opaque cast as in the blue boat. Here, one was covered with thinned resin then painted with Aerogloss Dope. The yellow boat used a sanding sealer instead of resin and then covered with blue Monokote that is used on model airplanes. You will see in the future, in this section, a balsa deck that is spray painted to design and then covered with resin. There are many possibilities for those that would like to have something individual.
There are other methods in many shops. The decks above were covered in 1.4 ounce cloth. There are some out there using 2 ounce cloth and full strength resin. Here you will see the process with an underlying .5 fiberglass tissue and the deck covered with .75 ounce cloth.
The considerations are weight of course. That is the purpose of the structured balsa deck. However, other considerations have come to the surface as this process gains popularity. The undersides of the balsa needs to be protected but the top deck can vary. The resin is applied with a squeegee made of plastic or stiff paper like a file folder. Thinned resin needs to have a heavier cloth to give it body to absorb the product. Lighter cloths tend to wrinkle and gather at the edges, which can lead to cascading problems at the resin moves toward kicking off.
Full strength resin was used on the featured deck here over .75 ounce cloth. Extreme care was used and still the spreading of the resin was not to our liking. A 10% reduction with MEK would have mitigated the problem and produced a smoother deck with a slight fabric touch. Hence, that will be the recommendation.
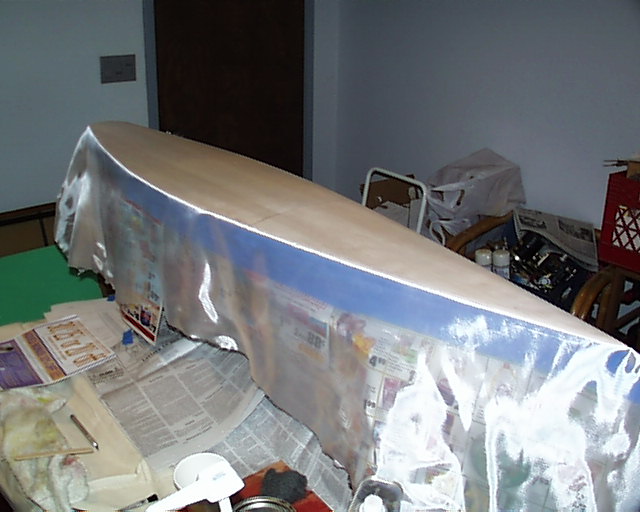
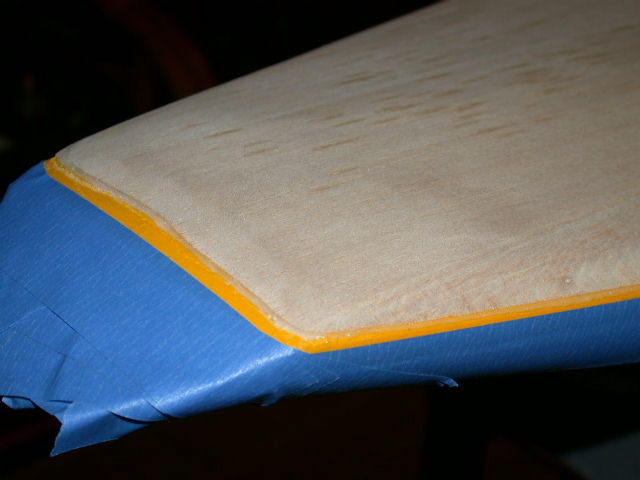
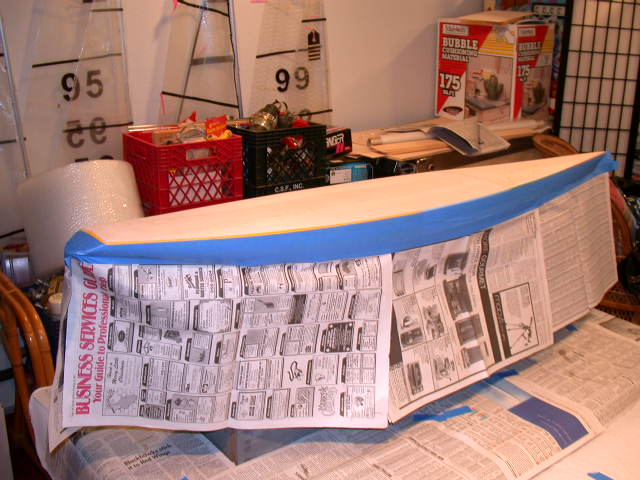
Mat And Clear Resin Application Mask and paper the boat. Lay a line of 1-1/2" tape below the final masking line all the way around the boat. This would be about 1/2" below the balsa deck. Lay a line of 1" tape just below the gunwale line of glued balsa and over the larger tape. How much separation here is whatever is comfortable for you. What you see here is about 1/8 to 3/16 inches. This will be the line that you will cut off the cloth draped over the deck when it becomes tacky and remove the tape before it cures. Spend some time with this till it looks good to you. Now, paper the boat making sure the tape is below the upper line. Press the tape all around to make sure it will seal against loose resin.
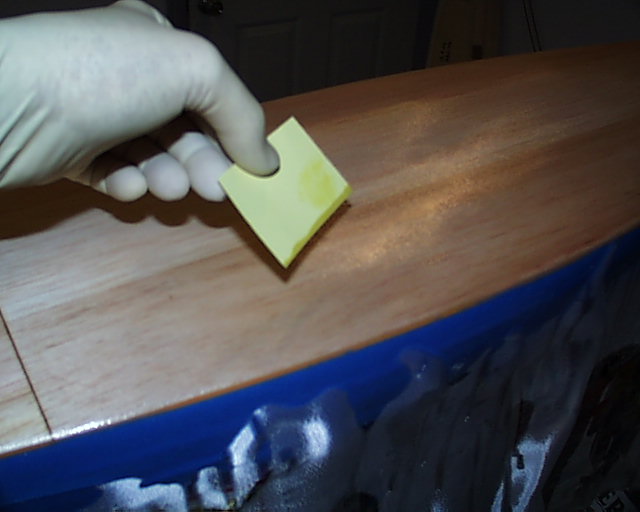
You can make resin squeegees from file folder stock. Cut them to about the size of a credit card. Get all your stuff ready and think about the process.
Cut a piece of fiberglass cloth to fit completely over the deck in one piece. Actually, about a 5 or 6 inch over hang adds enough pressure on the gunwales to reduce wrinkling as you work the resin.
Here is a suggestion before you start . Make sure the resin and hardener is at room temperature. It will flow easier. Heat a room, or the garage, to room temperature. Make sure the boat is not cold soaked. All of this will enhance the application of the resin and cause it to set up in a steady state. Working with open resin is not toxic when used at full strength. Your MEK and Acetone should be in another place and ventilated.
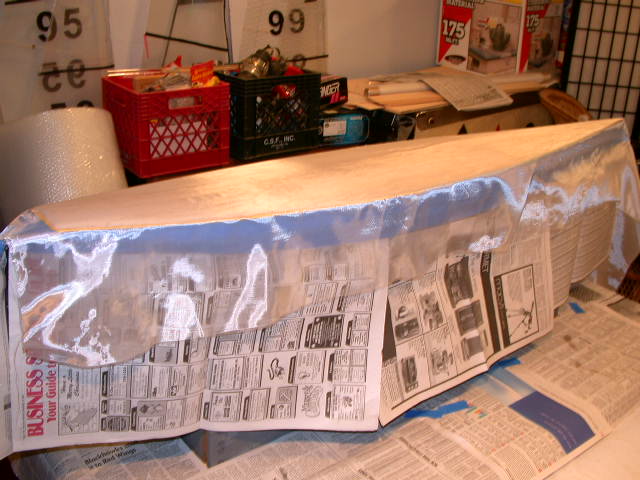
Applying the Resin Mix 2 pumps of resin with about a tenth more in MEK or Acetone. The resin is poured on the deck, little by little and spread out evenly over the cloth. Use a light touch with the squeegee and work steadily but carefully. If you pressure the surface the cloth will wrinkle and once that starts it will be a constant process of smoothing. So, go easy and be patient. This is not a time to be in a hurry. The resin will wait. What you are looking for is a wet but slightly textured surface.
The resin here is worked with for no more than 30 minutes. Pour some on and start spreading it outward and down the length of the deck. It does not need to be real shiny just keep moving it. Work the entire deck till you are sure all the cloth has been touched and is wet. Make long sweeping strokes from one end to the other. Do so slowly and wipe off resin on the squeegee into the cup. Work the sides, over the gunwale till the cloth onto the color of the hull is transparent wet. When you think you have it covered and it is not too heavy, leave it alone and let it smooth out before it starts to kick off. It will be what it will be. What ever it looks like, it will have no effect on the speed of the boat.
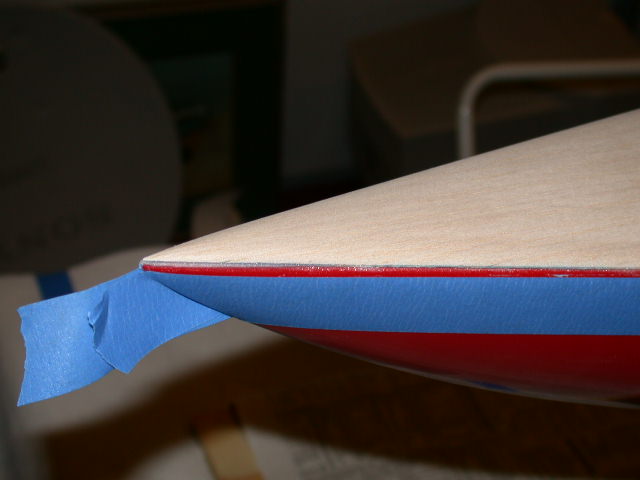
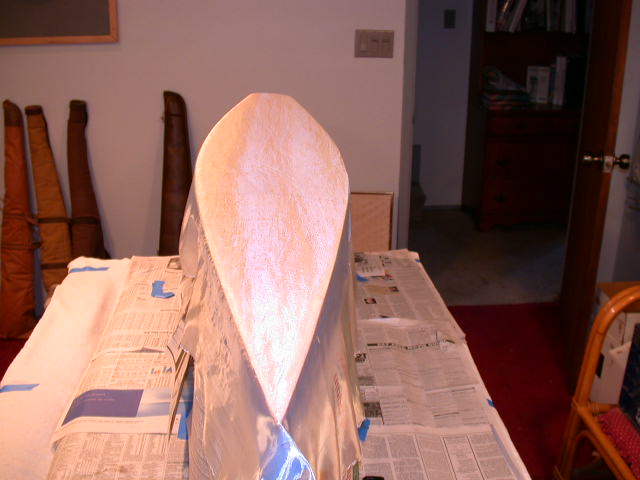
Monitor the process so that you know when the resin starts to get real leathery. Put a new blade in the knife and test the transom. You want to cut from off the hull onto the hull so that the blade is working when it gets to the real point of the cut. Otherwise it might tear and wrinkle the cloth. Play with this till you get the idea. The transom is a good place for it is easier to fix there if you screw up. When you get started, cut just barely above the tape. Take your time and cut all around the boat.
Now, separate the tape at one end. Start removing it with the knife in one hand being careful incase there is a spot that did not cut through. The chances are good there will be a few. After all the tape is removed check the seam that all the cloth is firmly down on the top edge of the hull. If you need to press a part down, be sure to finish the effort by moving your finger away flush to the surface. This will prevent your hard work from trying to come off by sticking to your finger. Remove the rest of the tape and paper. Inspect the hull to make sure there is no resin runs. Run you fingers over the hull for it is hard to see. It is far easier to clean it now than after it has hardened. Let it cure a long time.
When you take it to the lake, place a set of museum web strap barriers up about four feet from the boat and no one will ever see the things that are bothering you. You did it! That is a good job and it will work well for you.
Another fun project. "Let’s go to the movies, Vern!"
|